I really enjoy spring! The weather is getting warmer, there’s flowers blooming everywhere and it just feels like life comes out of hibernation everywhere you look. I like going for a walk almost everyday and I really enjoy the warmth of the sun on my skin. Lately we’ve been looking for ladybugs; my son loves looking at them, keeps them in his bug container, looks at them and then says goodbye to them and sets them free. That gave me an idea for this tiny pattern that can be done in less than an hour.
Materials:
All you need is worsted weight yarn (cotton is my favorite) in red and black, a 4 mm (G) crochet hook, a stitch marker (to mark the first stitch of each round and moving it up as you go), a little filling and a yarn needle.
Start with red yarn, and make a magic ring.
1. Work 6 sc into the ring. (6)
2. Increase in every stitch. (12)
3-4. Sc all around (12)
Fasten off.
With black yarn repeat rounds 1-2. Fasten off and leave a long tail for sewing and making the spots.
To sew the ladybug (there are 12 stitches on each part), use the yarn needle and the long black yarn tail. Each stitch looks like a V. I sewed the black and red stitches by sewing together only one part of the V, the outer part of each. Don’t forget to add filling before closing all the stiches. With the remaining of the yarn embroider the spots on the shell of the ladybug.
To make the head use black yarn and make a magic ring.
1. Work 4 sc into the ring. (4)
2. Increase in every stitch. (8)
3. *Sc 2 stitches, make a decrease repeat from* to end. (6)
Sew the head to the body.
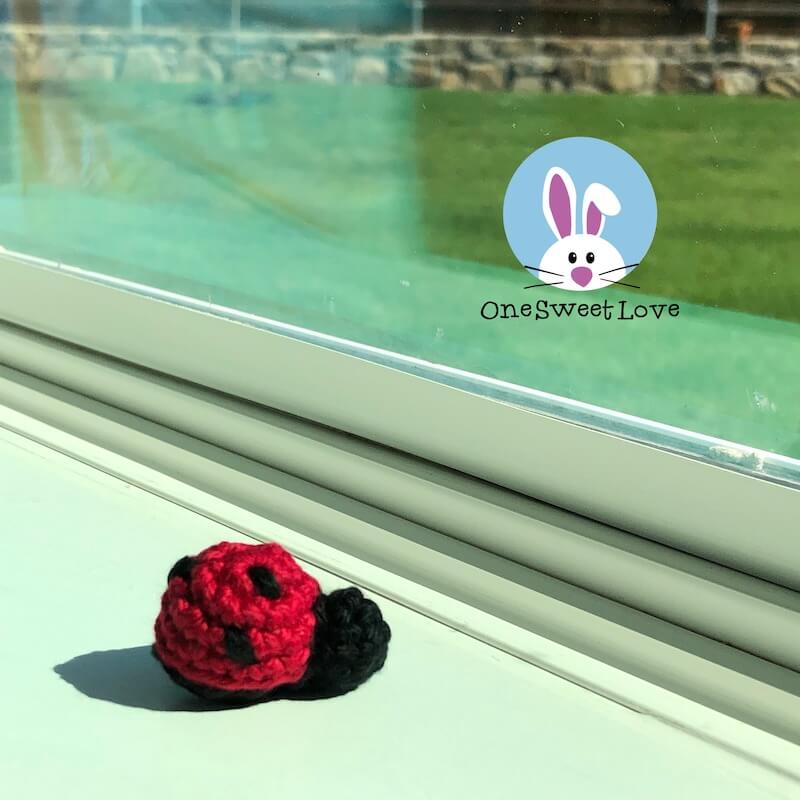
Enjoy your tiny ladybug that can work as a pin, a head accessory or a toy for your little one!